This is part of an ongoing series where we write a complete 2D game engine in C++ and SFML. A new tutorial is released every Monday. You can find the complete list of tutorials here and download the source code from the projects GitHub page.
Last week we started work on the game’s camera by creating a component that continuously centres the View on the player’s character. This week we’ll work on the ability to zoom in and out of the scene. What may surprise you is that we are not extending the functionality of the camera, we will, in fact, be implementing zoom in the Debug class. We’re doing it this way because I don’t think we’ll want the player to be able to use the zoom in the final game and you’ll remember from when we started the Debug class that it will include anything that we do not want in the final game but will be used for testing purposes. Zoom fits this criteria nicely.
We’ll use two new keys to zoom in and out. I’ve chosen the left and right bracket ([ and ]) but you can use any keys you would like. Preferably it will be two keys that we are unlikely to use in the final game. Add two new entries into our key list for the new keys.
If you would like a refresher on how the Input class works see the previous tutorial on the subject.
Once we’ve added the new entries into the key enum we need to check if the keys are being pressed each frame. We’ll do this at the end of the Input’s Update function.
I’ve also found a bug with the escape key where I accidently placed an extra bracket so it was calling the wrong function. Instead of calling SetBit(int pos, bool on) it was calling SetBit(int pos). To fix this remove the bracket after Key::Esc, like so:
Now we can use the bracket keys, create a new function in our Debug class to handle zoom.
The function checks if a bracket key has been pressed and then either zooms in or out. The zoom uses the same process as the movement code from the last tutorial, where we first retrieve the windows View, modify it in some way (in this case by zooming), and then setting the windows View to our newly edited View.
Zoom works relative to the current Views zoom so we do not need to increase/decrease the amount we are zooming each time, we can instead use a flat scale of 1.1 or 0.9. It also does not magically work in any 3D way, the camera is not moving closer to our sprites rather it is simulating the zoom by enlarging or shrinking the zone displayed onscreen.
With our new debug function complete we need to call it each frame. We’ll do that in SceneGame for now, although this means we will only be able to use zoom in this scene so we may change this in future.
If you run the game now and press the bracket keys the camera should zoom in and out.
Drawing the quadtrees nodes combined with our new ability to zoom we can see why we do not collide with the second half of the level (something we discovered last week).
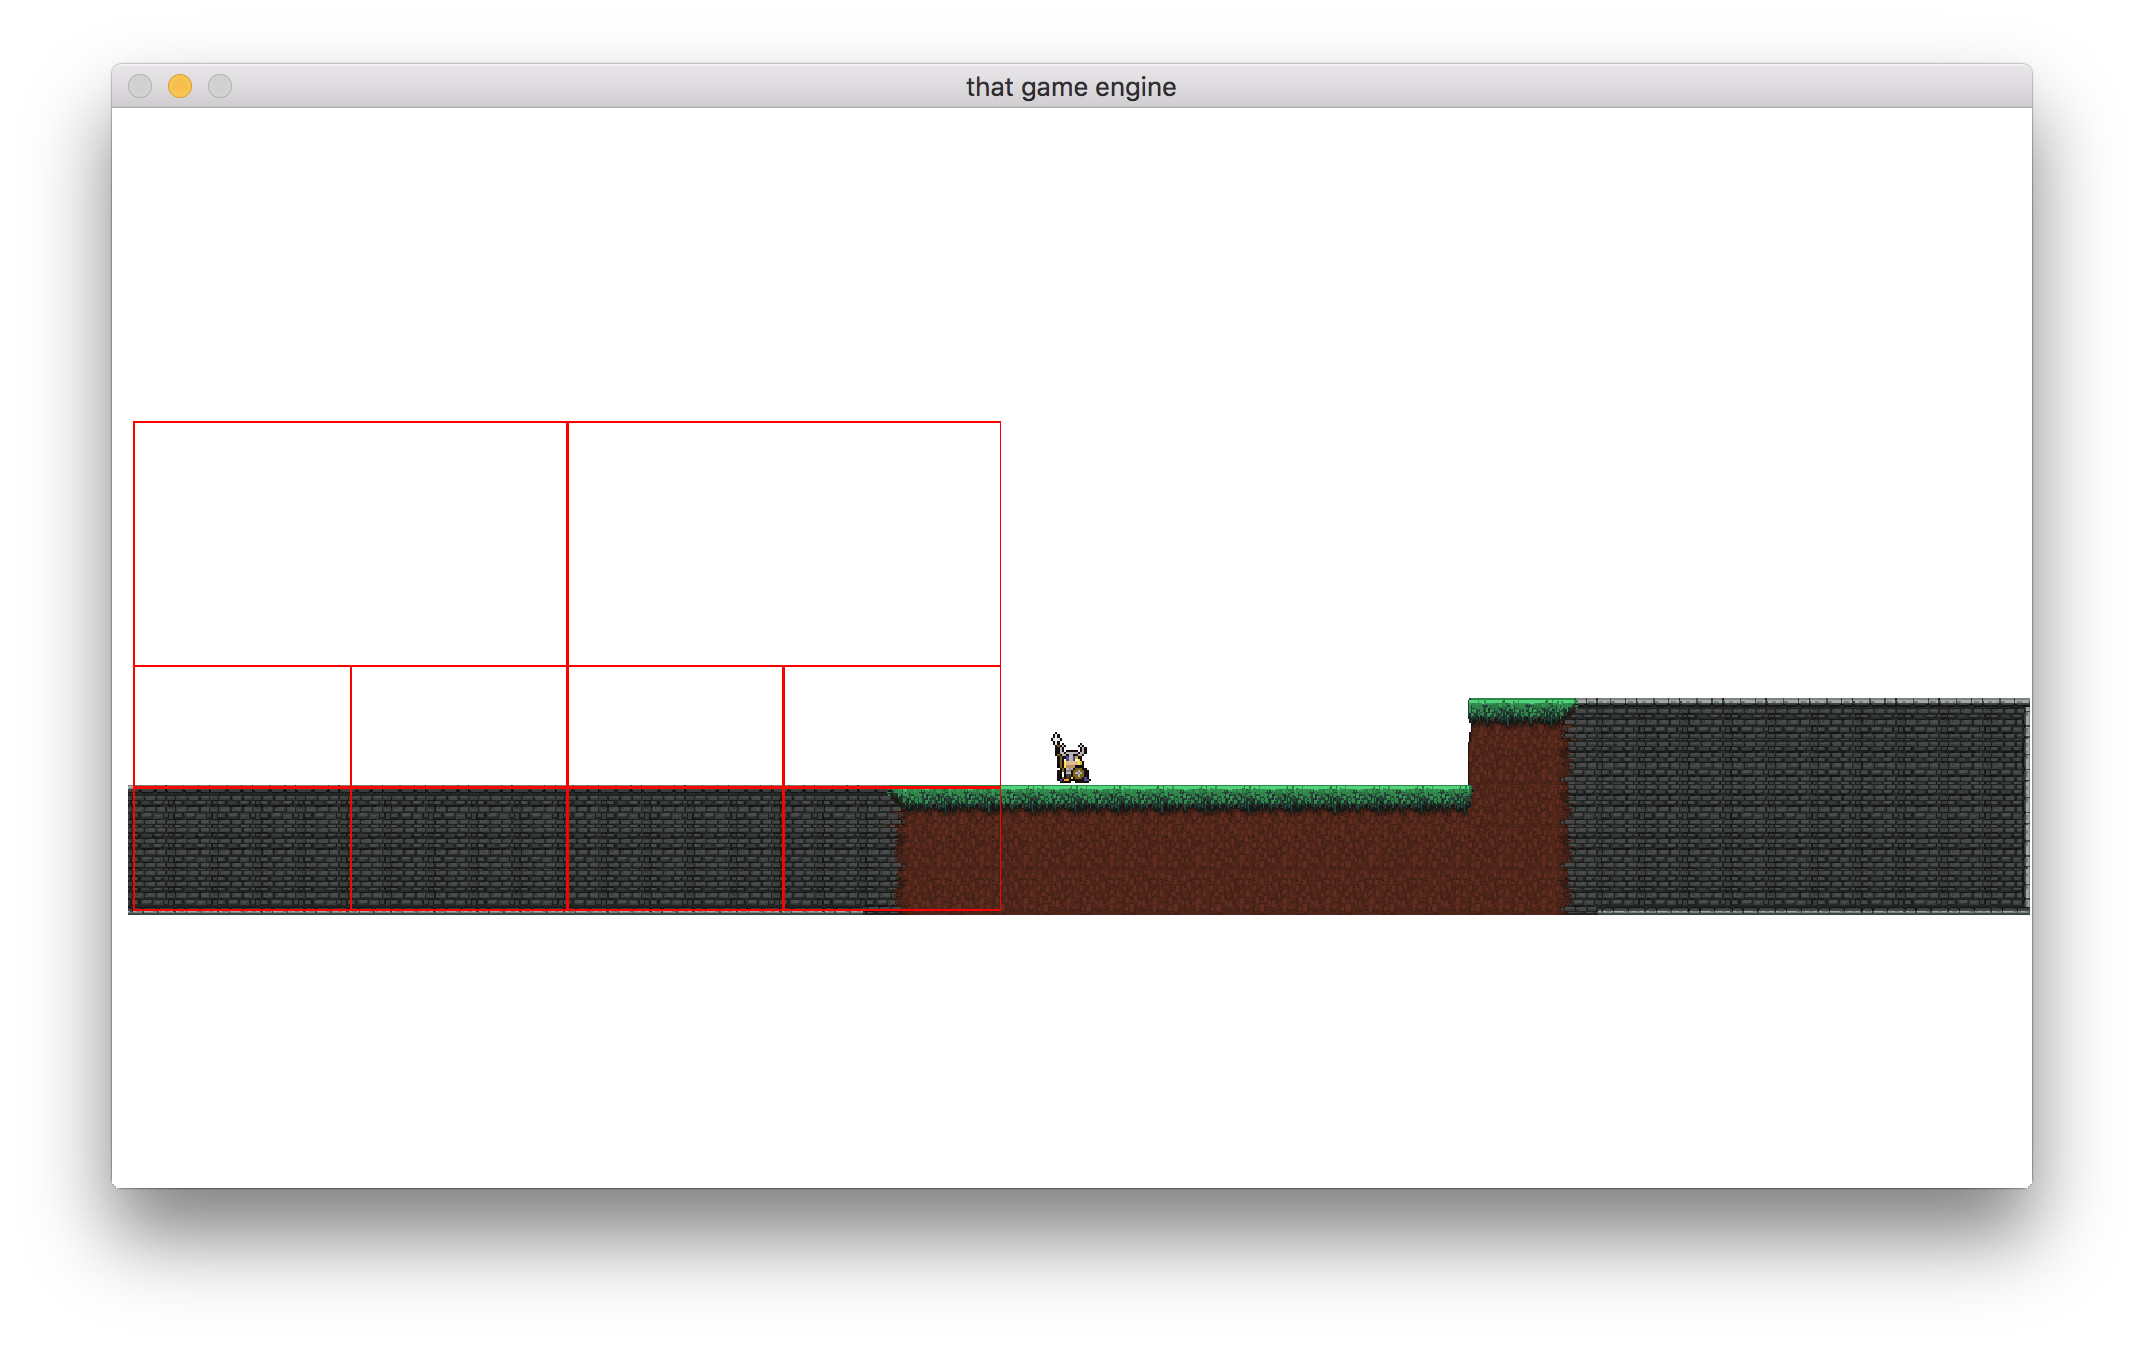
Collisions only work within the quad trees bounds.
This is simple to fix, we just need to increase the width of our quadtree.
Rather than calling the default quadtree’s constructor, we pass in parameters. Instead of using the default width of 1920 we pass in 4200, which covers the length of the level. We do not need to change the x position as its based on the top-left of the quadtree, which remains in the same place.
Now when you run the game and zoom out collisions should be working with the whole level.
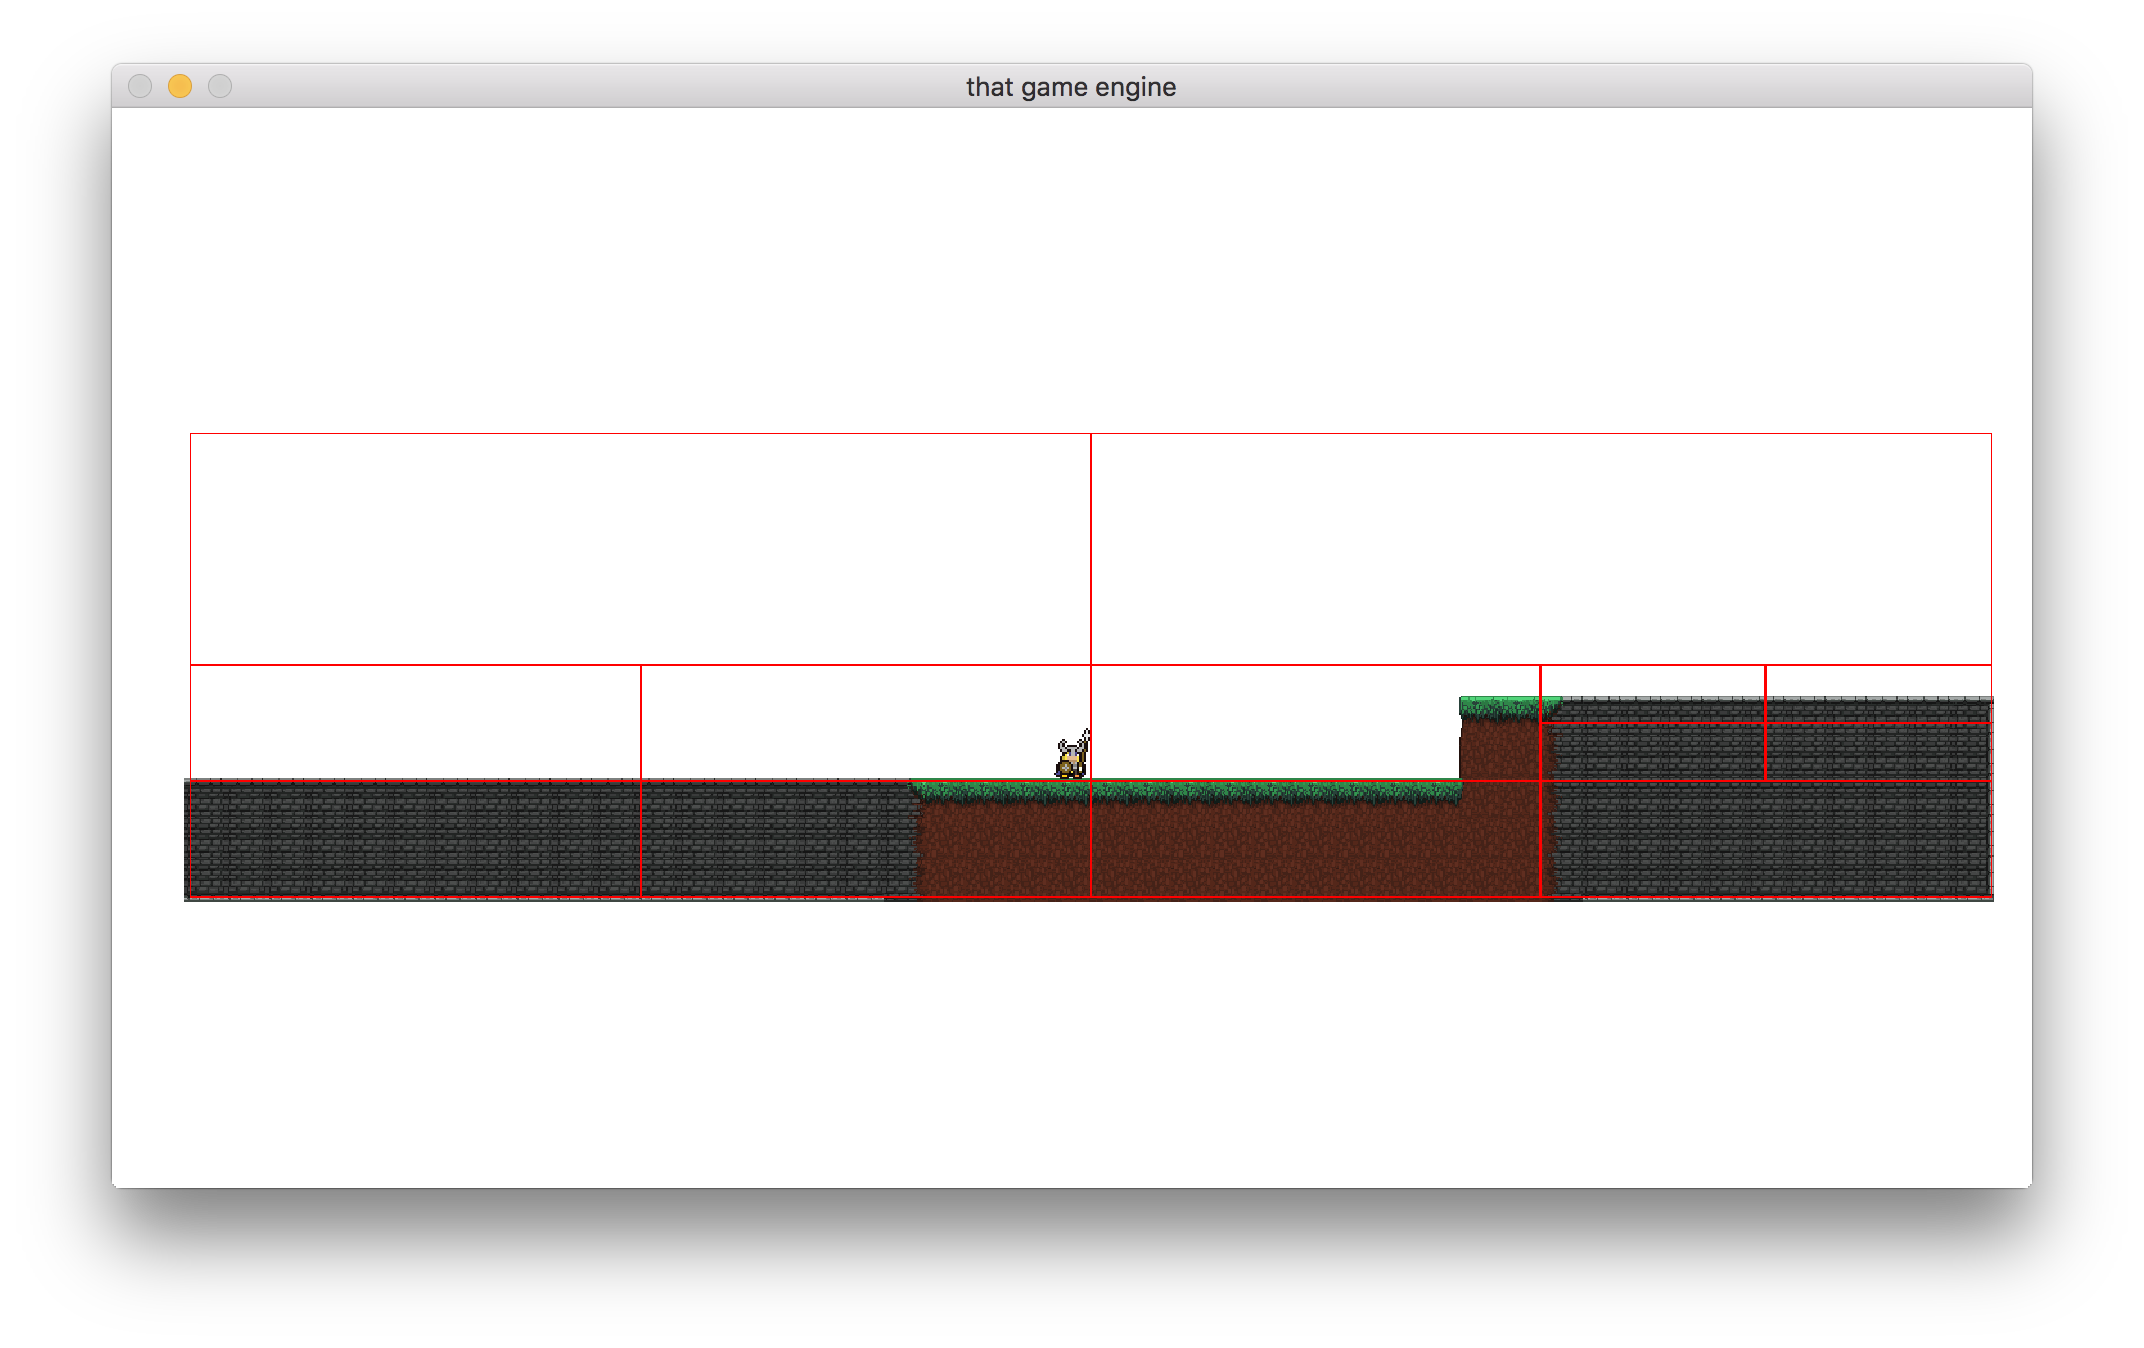
The quadtree bounds now encompass the whole level.
That’s it for this week! Next week we are going to extend our animation system so that we can animate entities in four directions (rather than just the left/right that we have now). To test the extension to our animation system we’ll change to a top-down perspective used by many 2D role playing and adventure games.
As always, if you have any suggestions for what you would like covered or are having any trouble implementing a feature, then let me know in the comments and I’ll get back to you as soon as I can. Thank you for reading 🙂