This is part of an ongoing series where we write a complete 2D game engine in C++ and SFML. A new tutorial is released every Monday. You can find the complete list of tutorials here and download the source code from the projects GitHub page.
I’ve spent the last week scouring the internet for any useful LPC sprites (I discussed LPC in last weeks tutorial) and using those sprites to create four new test maps for our game.
In the resources folder for this weeks tutorial, you’ll notice a new folder called “LPC”. Each folder contains one or more texture files along with an attribution file that includes a link to where I found the resource along with the author(s) names. I’ve included screenshots of the new maps below along with their names. You can use their names to try each map for yourself (I’ll explain how shortly). The maps are still only for testing purposes with many details still missing, but I thought it would be nice to have a more detailed environment for our player to walk around.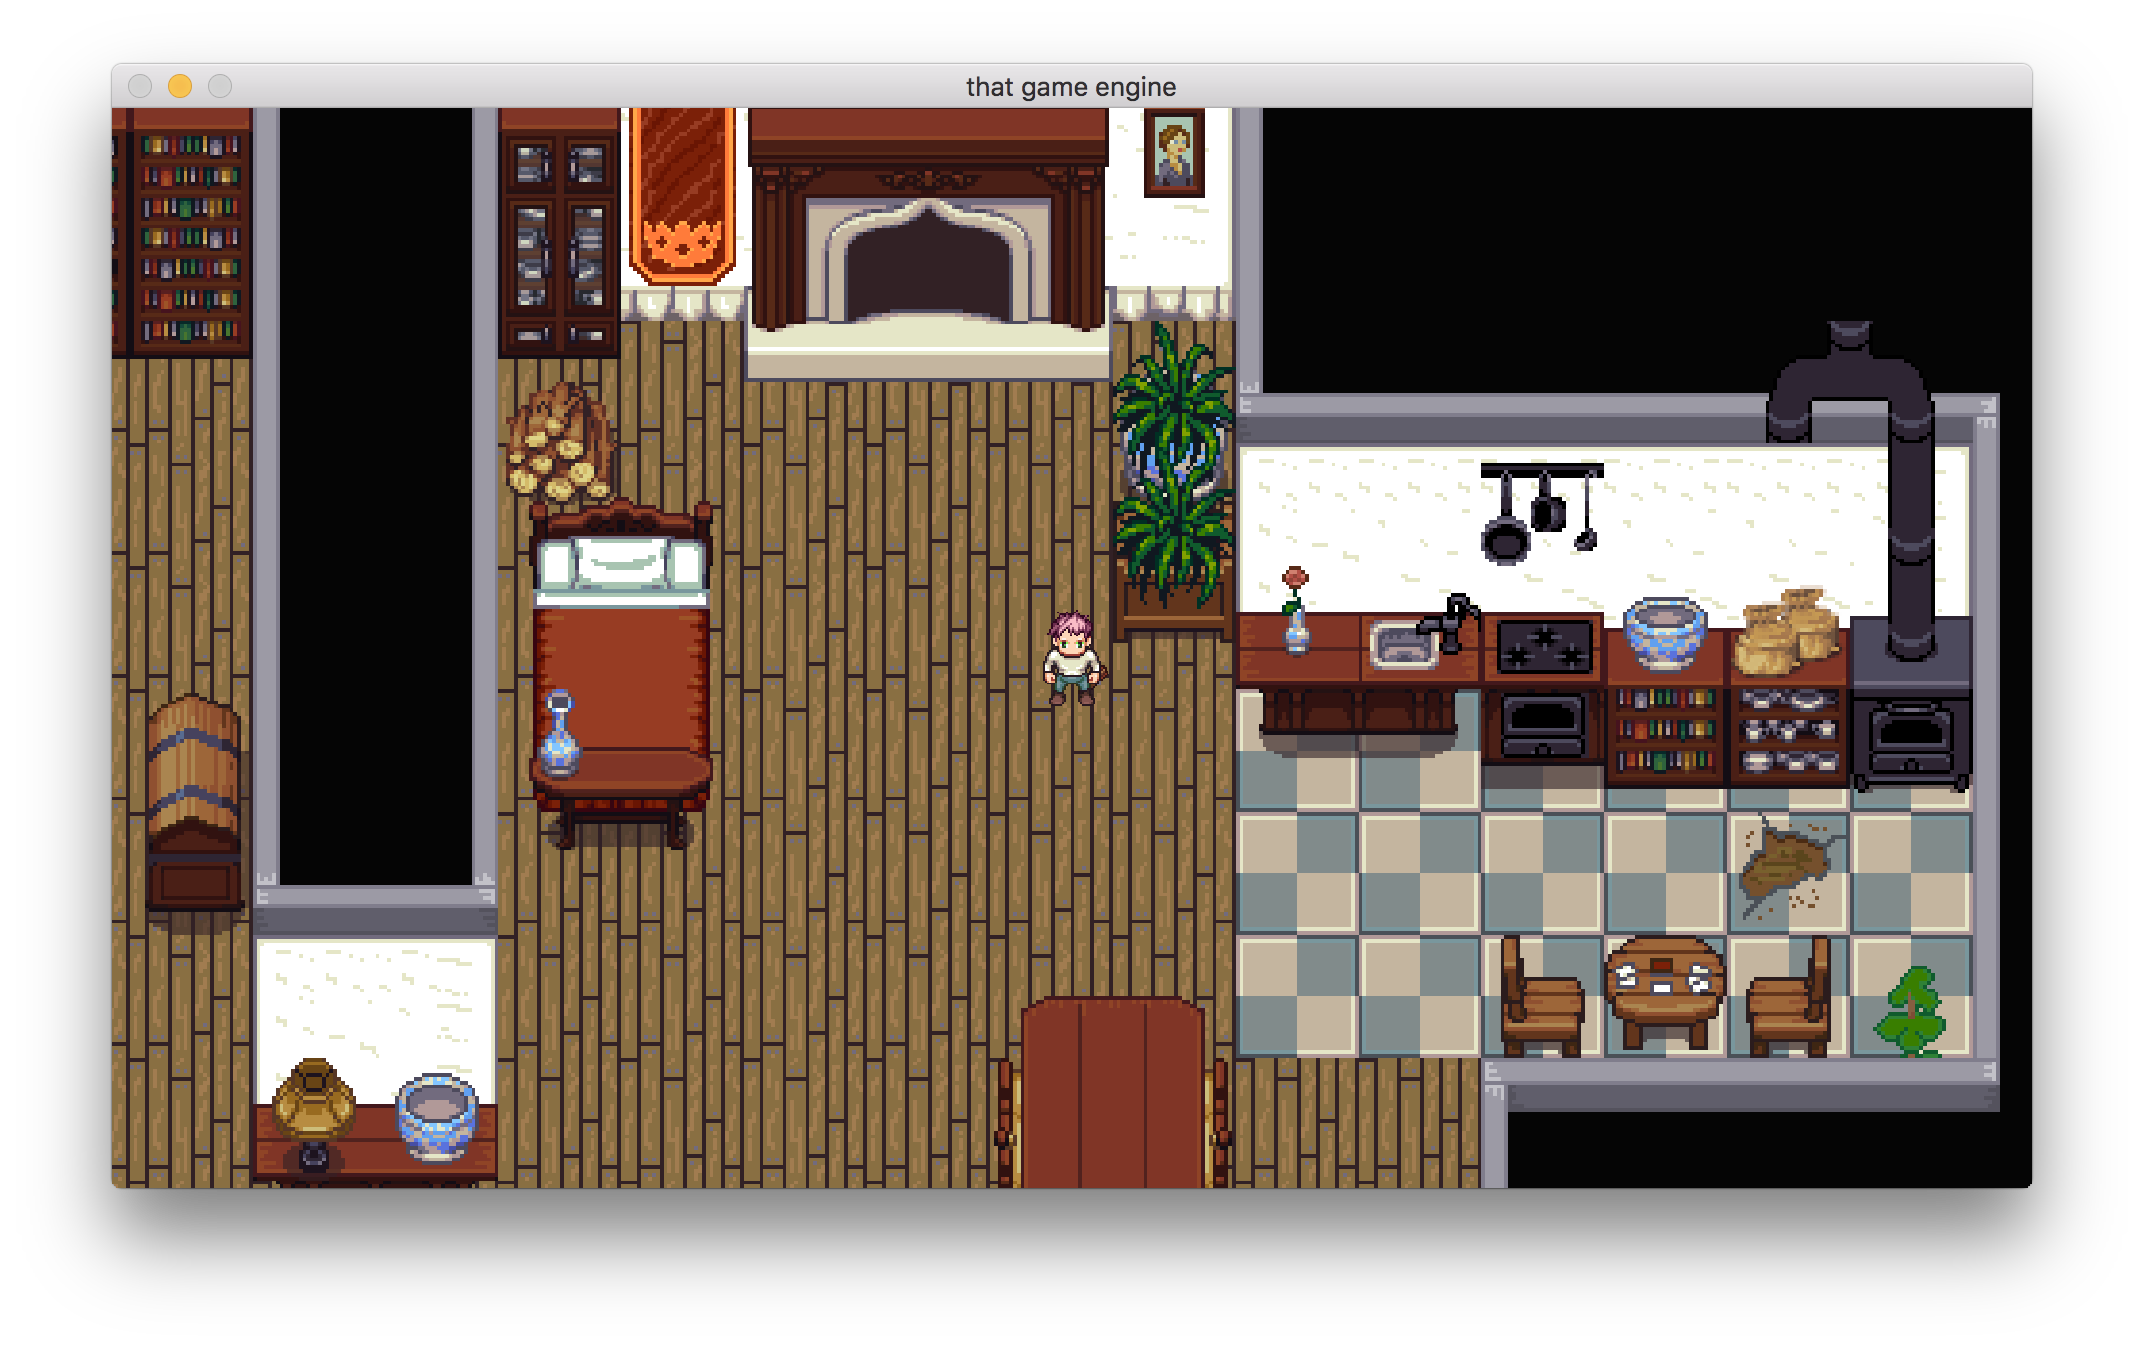
House Interior.tmx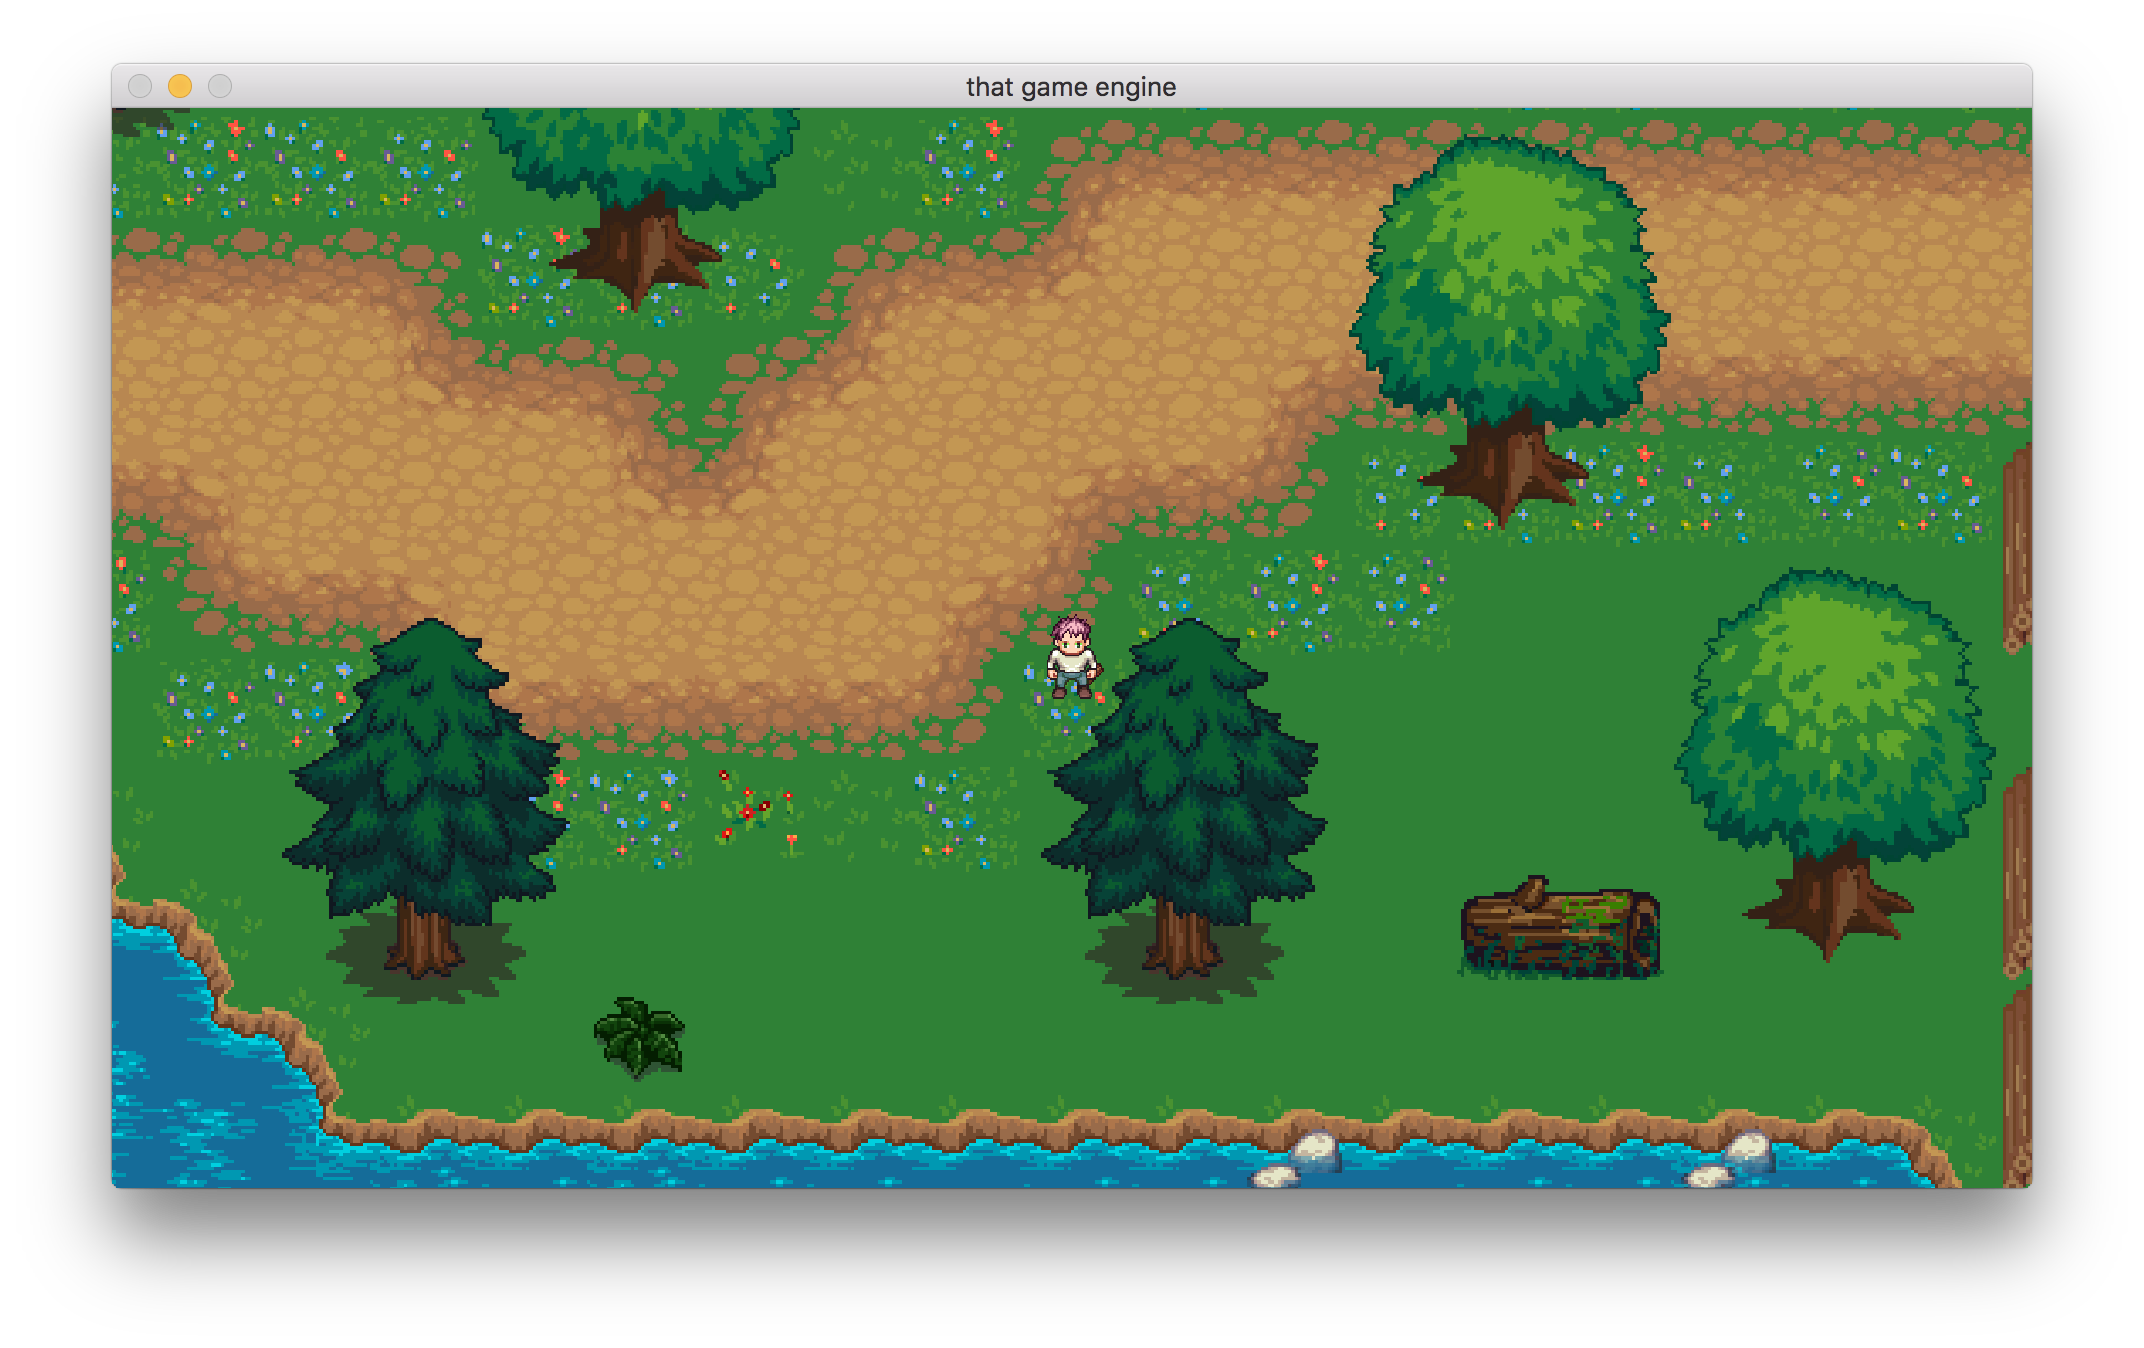
Path.tmx
House Exterior.tmx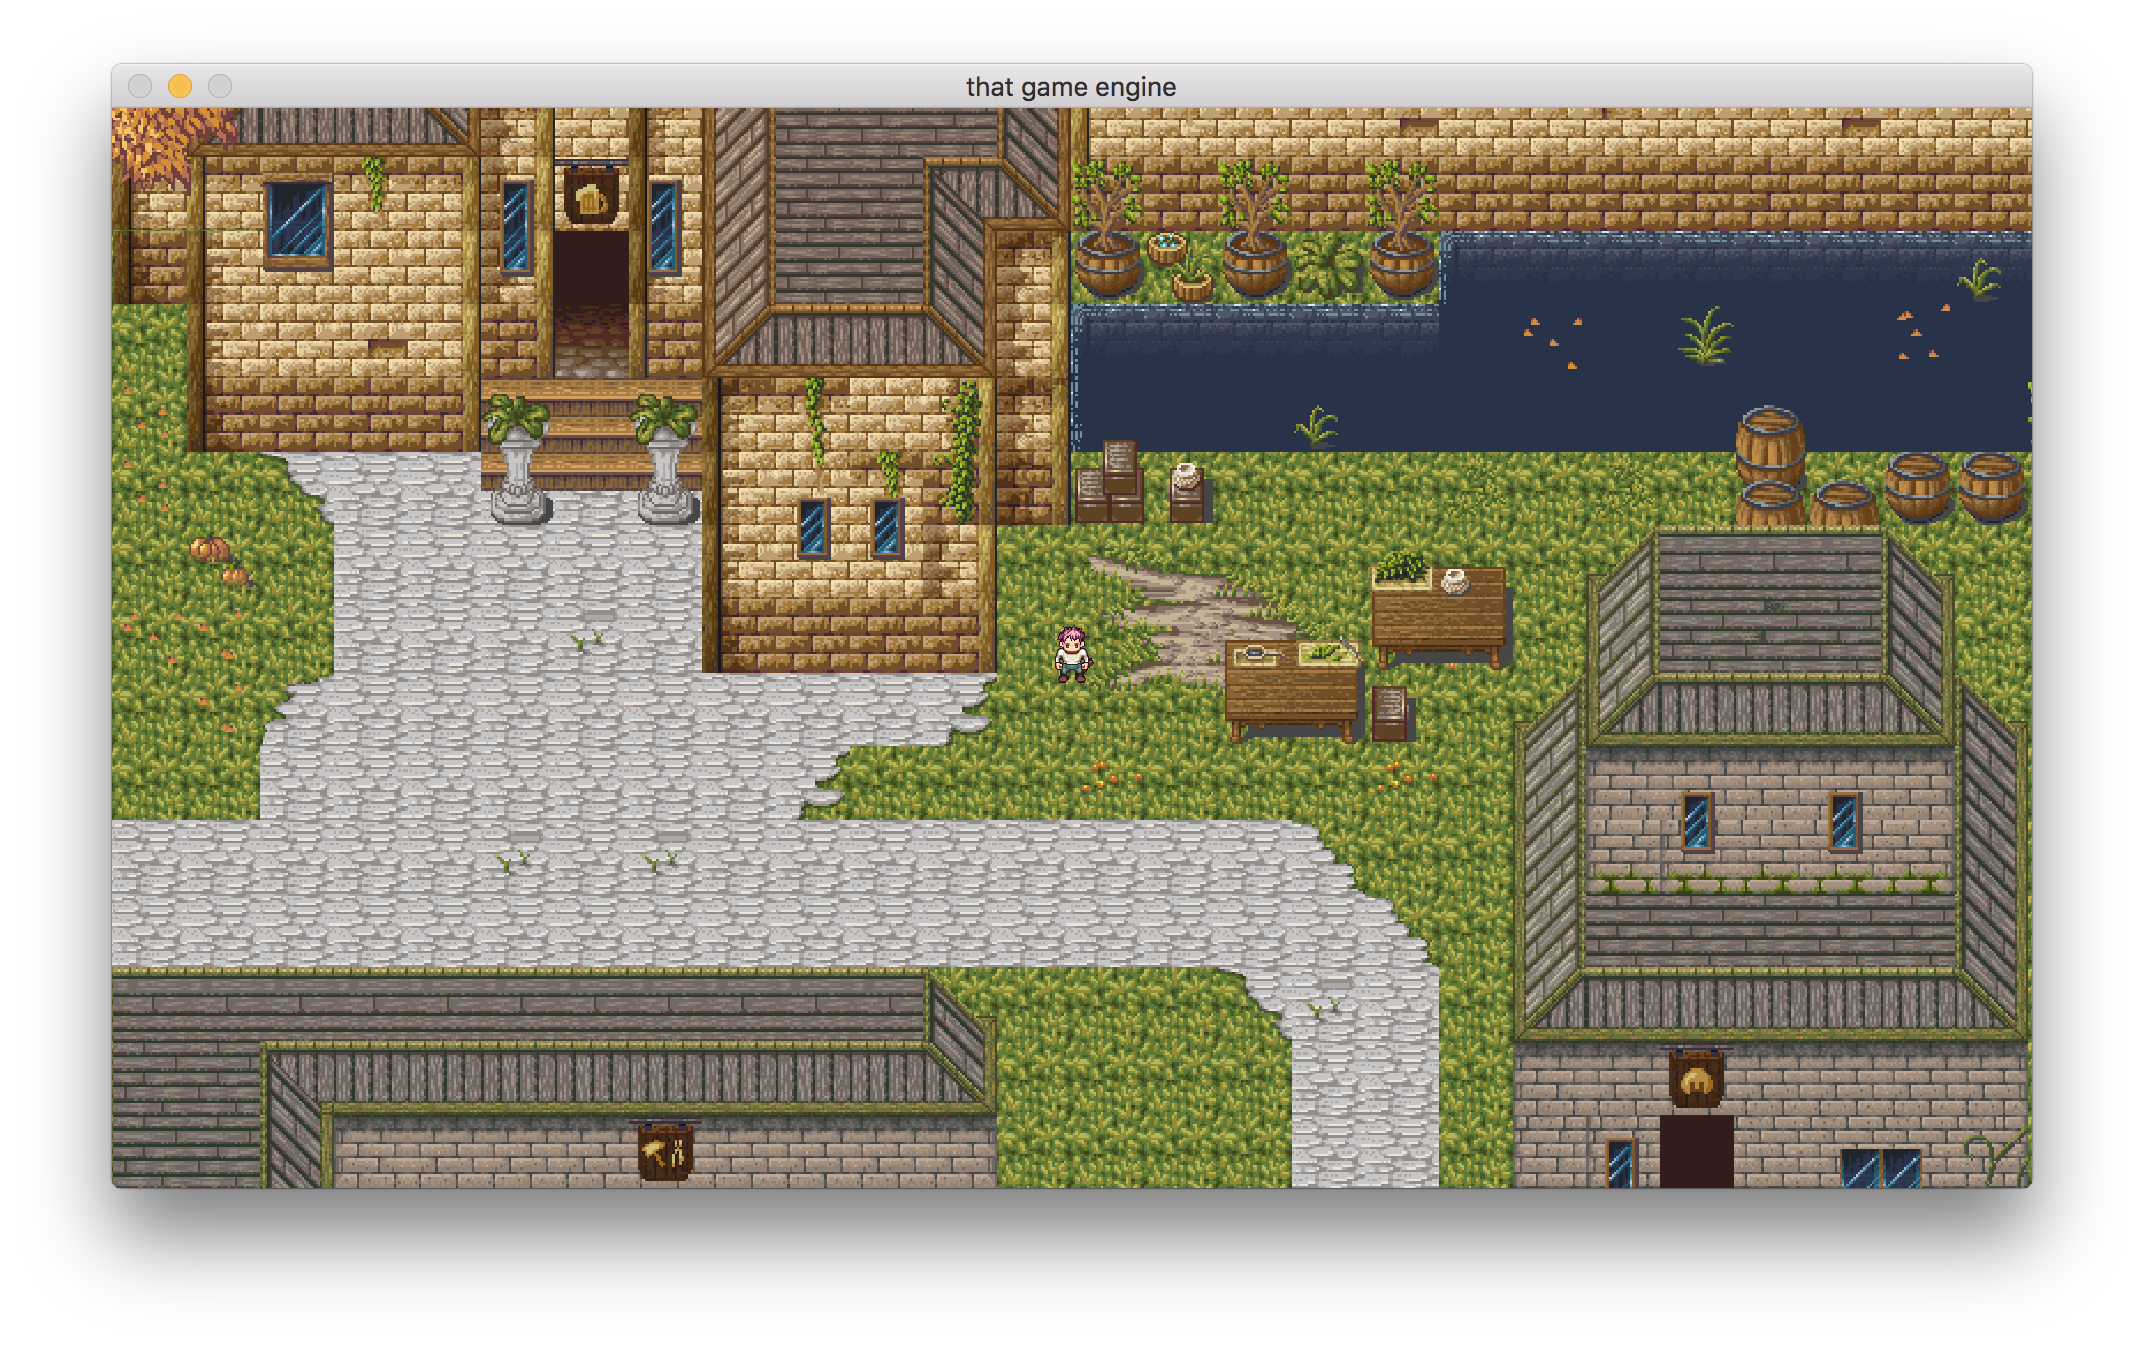
City.tmxMost of the maps still require some work (especially the largest of the maps, City). To test the maps for yourself replace the string “House Exterior.tmx” at the end of SceneGame::OnCreate with the name of the map you would like to see.
When attempting to test the maps in-game I was greeted by a jumbled mess instead of my new maps and this will also be the case for you. The tile maps take advantage of a larger number of tile sets and layers.
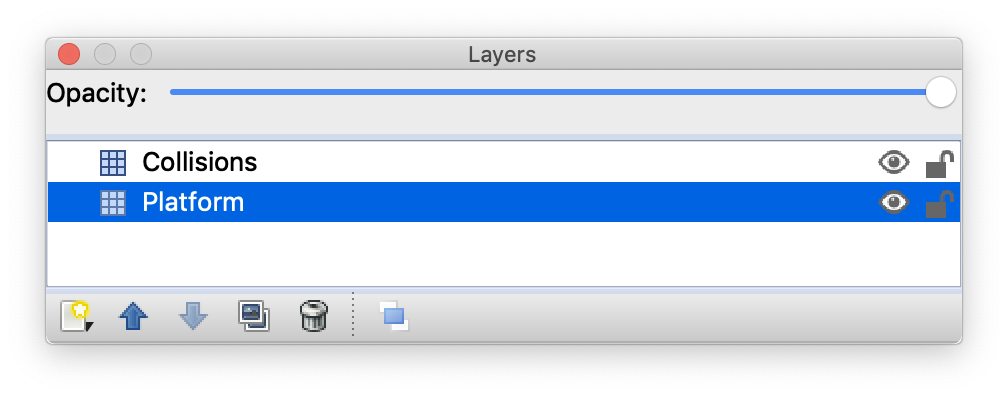
You may have also noticed that each layer is labelled as either in front of or behind the player. We’re ignoring the labels for now but they will eventually be used to decide the drawing layer for each tile.
The larger numbers of layers and tile sets have exposed a couple of bugs with how we currently parse the map files:
- We don’t take the first id of the tile set into account when calculating the textures x and y position.
- We store our layers in a map ordered by their name. This does not guarantee that the order of the layers in the map is the same as in Tiled.
We’ll fix both of these bugs today and then by the end of this tutorial you should hopefully be able to see the maps for yourself. Let’s start with bug number one:
We don’t take the first id of the tileset into account when calculating the textures x and y position.
Currently, we calculate the position of the texture in the sprite sheet using:
Say we have 2 tile sets, one with 4 tiles and another with 2. The first tile set is always assigned the id of 0, the next tile set is assigned the id of 4 because the first tile set has 4 tiles (with the first tile having an index of 0). This is shown below.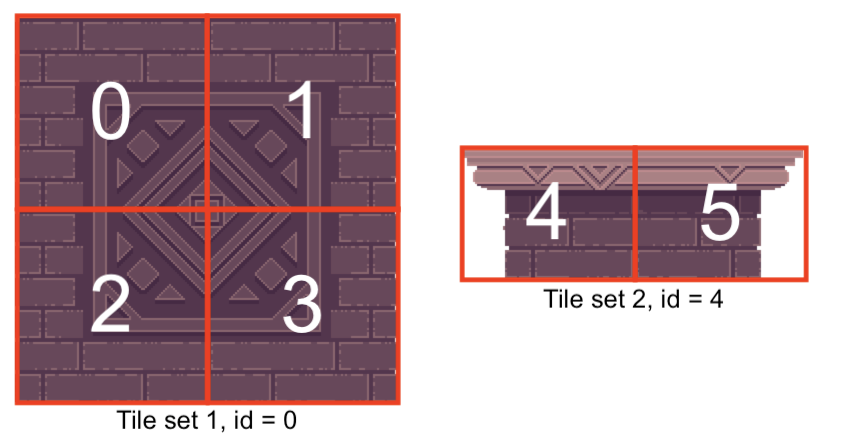
To retrieve the first tile in the second tile set (shown below) we’ll pass a tile id of 4 to our algorithm.
This gives us:
textureX = 4 % 2 – 1 = -1
textureY = 4 / 2 = 2
A position of (-1, 2) for the texture which is not within the texture. The top left position is (0, 0), there is no -1. And there is only one row so we cannot have a y texture position of 2.
We’ve managed to get this far without running into this bug because we’ve only been using the one tile set and these calculations work with the first tile set as it starts at index 0.
To fix this we need to change how we calculate the texture position.
We now subtract the firstid of the tile set (obtained as we loop through the tile sets) from tile id. Let’s see how this works by using the previous example, remember we want the texture location of the first tile in the second tile set. The tile has an id of 4 and the tile sets first id is 4.
int textureX = (tileId – firstId) % tileSheet->columns;
int textureY = (tileId – firstId) / tileSheet->columns;
textureX = (4 – 4) % 2 = 0
textureY = (4 – 4) / 2 = 0
Now we get the texture position of (0, 0) which lines up with the first tile in the tile set and is exactly what we want.
Hopefully, that is relatively clear. If not, please let me know in the comments and I’ll update it.
Now that we’re retrieving the correct textures you’ll be able to notice the second problem:
We store our layers in a map ordered by their name. This does not guarantee that the order of the layers in the map is the same as in Tiled.
Again this issue wasn’t apparent until now because our previous map had only two layers and they just happened to be in alphabetical order.
Our first test map had only two layers.But now that there are multiple non-alphabetically ordered layers you’ll often see the ground being drawn above houses and other such shenanigans. To ensure that the order of the layers is based on the order of insertion instead of the name of the layer we need to replace the map with a vector of pairs.
This change in the header only requires one change in the implementation file: we need to modify how we insert elements into the collection.
By changing emplace with emplace_back the project should now build and you can test out the new maps. You’ll notice that the draw order of some of the tiles isn’t quite right (see below) as the player will sometimes appear in front of tiles that he should be behind. This is something we will fix in future by taking advantage of the layers labels (Behind Player/In Front of Player) that I mentioned at the beginning of the week.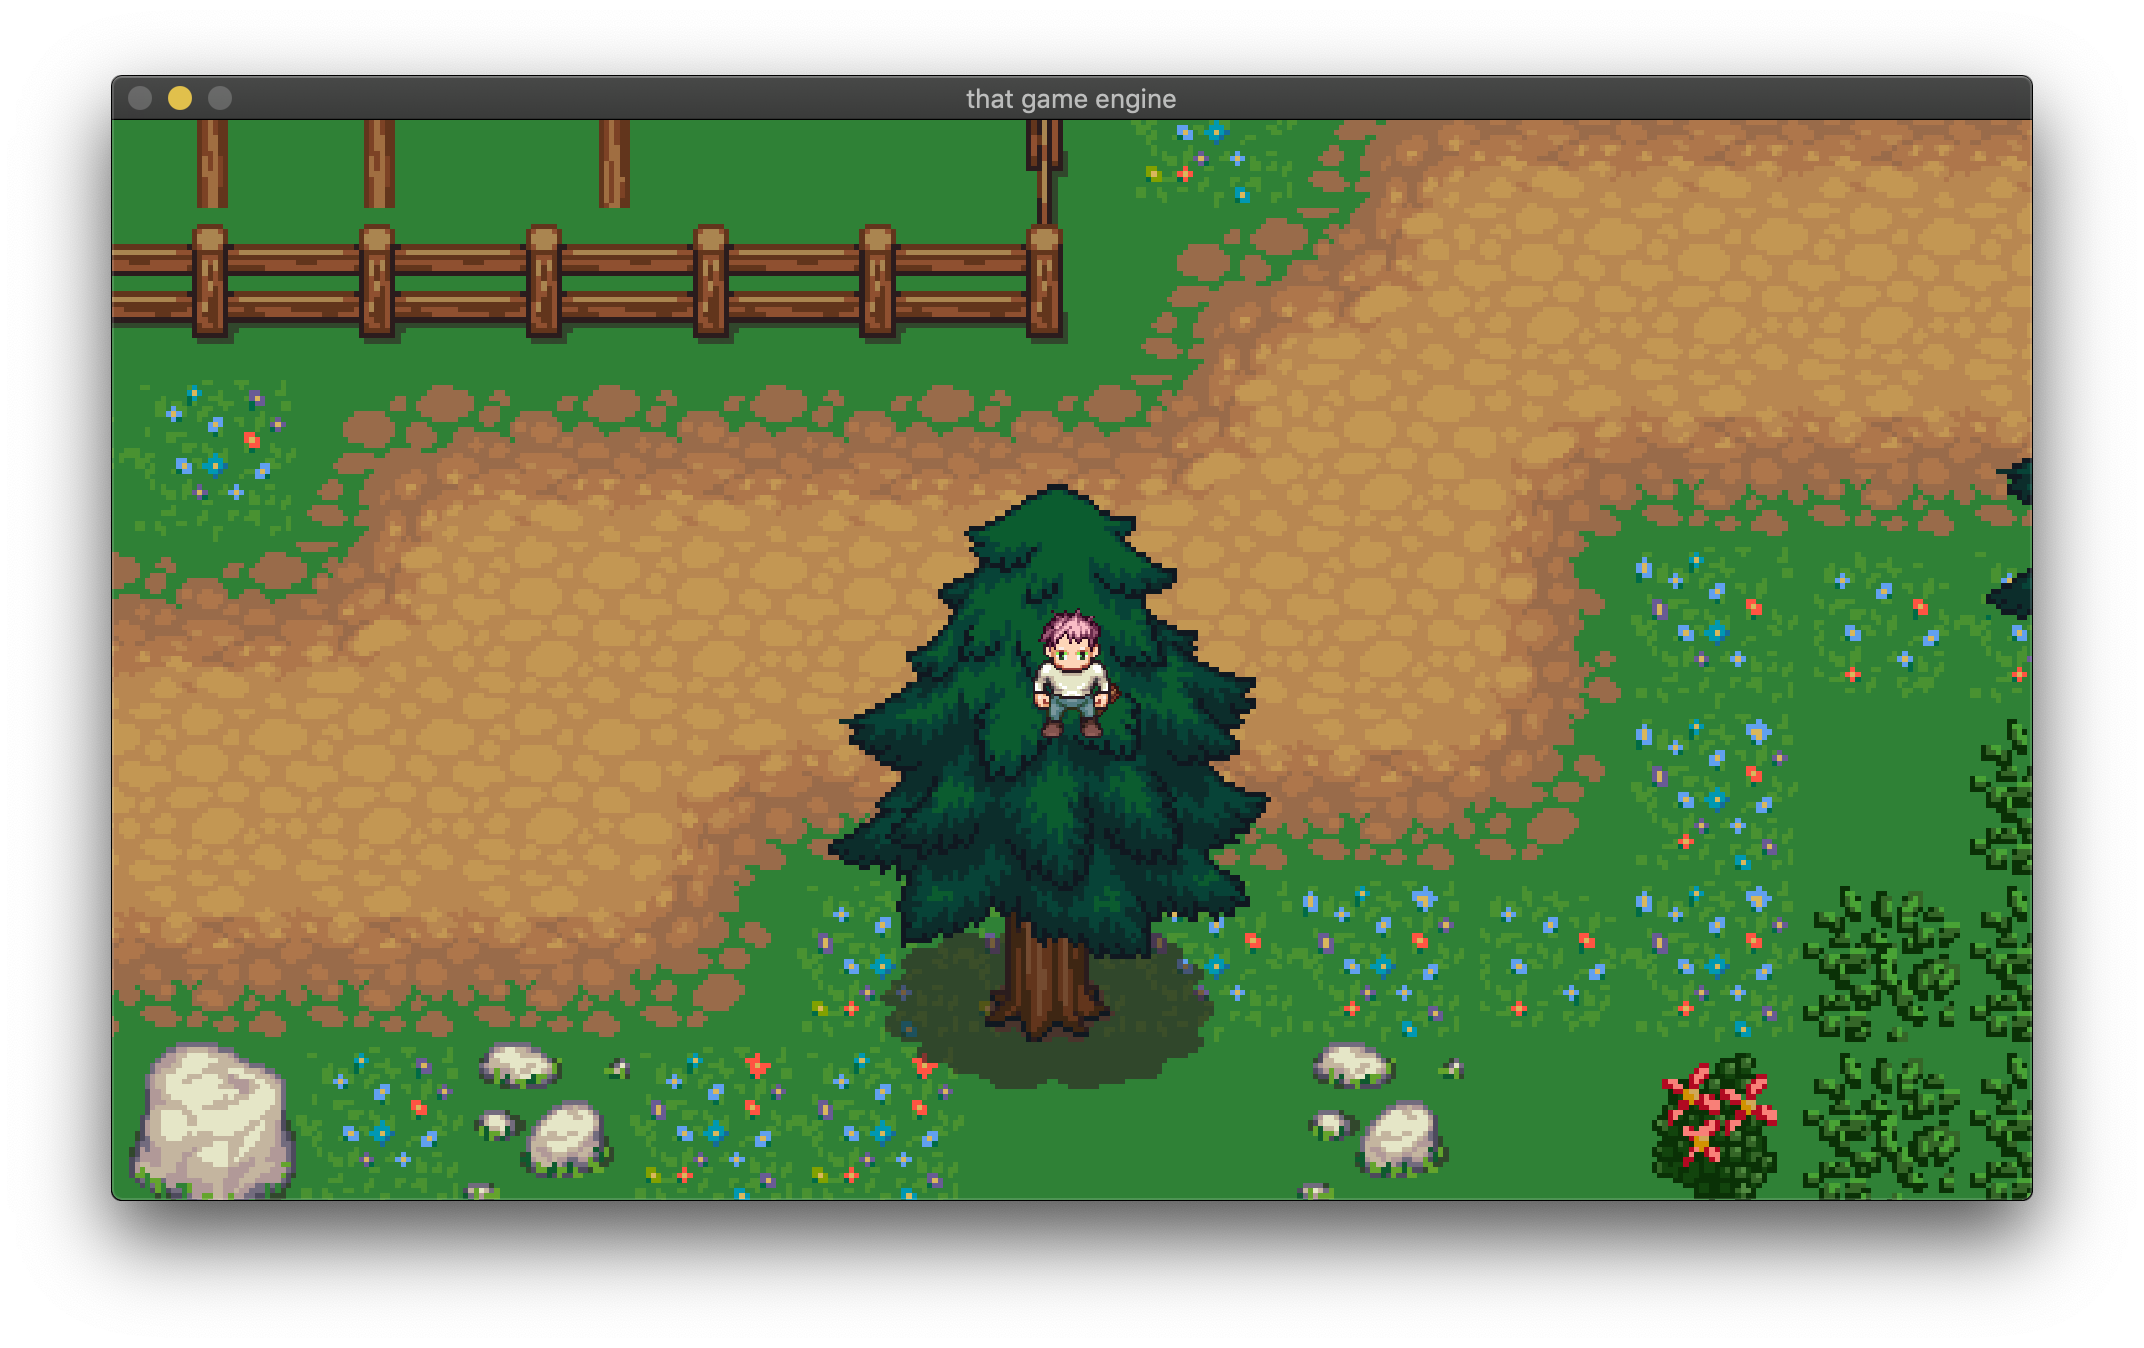
We haven’t quite got the draw order for the new maps right.
That’s it for this week, I hope you enjoy the new maps. Next week we’ll return to the animation system and add support for running actions as part of an animation. An action is a function that performs a certain task during a frame of animation. We’ll use these extensively in the final game but the first action we’ll write over the next few weeks is a projectile attack for our player.
As always, if you have any suggestions for what you would like covered or are having any trouble implementing a feature, then let me know in the comments and I’ll get back to you as soon as I can.
Thank you for reading 🙂