This is part of an ongoing series where we write a complete 2D game engine in C++ and SFML. A new tutorial is released every Monday. You can find the complete list of tutorials here and download the source code from the projects GitHub page.
In this tutorial we will build on our previous work and write the code that will move our Viking around the window. We’ll make sure to do this in a way that ensures the sprites movement speed will be the same (or very similar) irregardless of the hardware used to run our game.
SFMLs Coordinate System
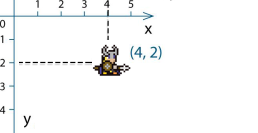
Before we jump into the code, I will briefly mention the coordinate system employed by SFML when drawing directly to a window; namely the Cartesian coordinate system with a flipped y-axis (y values increase as the sprite moves down the screen). If you are unsure of what a coordinate is or need a refresher then I recommend starting here.
When plotting a point within our window (such as where we would like to place our Viking), we can work out where the point is by how far along it is horizontally (x-axis) and how far down it is (y-axis). This means you’ll find point (0, 0) in the top left corner of the window and the maximum x and y values in the bottom right corner. You may have noticed that our Viking sprite was displayed in the top-left of our window even though we did not set its position; this is because sprites are displayed at point (0, 0) by default. If we placed our Viking at point (4, 2) it would look something like the image below.
Moving the Viking
The movement of the sprite can be accomplished easily as SFML provides a way of updating a sprites positions directly. By simply adding the two lines shown below to the bottom of the Game class Update method, our Viking will be moving around the screen in not time.
However, although we have our sprite happily moving across the window, we are not yet finished with the movement code as currently the movement speed of our sprite depends on the frame-rate of our game. A higher frame-rate will result in the update method being called more frequently in the same time frame. For example, if on my machine the game runs at 60 fps (frames per second), the update method is called 60 times in one second and consequently our sprite will move to the right 60 pixels a second. Now lets say the game runs at 120 fps on your computer, the sprite will move twice as fast; which is not ideal. We want to ensure that each player has the same experience (at least when it comes to movement speed).
To make our movement code frame-rate independent, or at least a great deal more so than it currently is, we need to record how long the previous frame takes to process and use that value to calculate how far to move the Viking in the current update. I will refer to the elapsed frame time as delta time or DT.
Taking the previous fps (60 and 120) as an example. Lets assume that they run at a constant fps with no dips in frame-rate; which is generally un-realistic but will do for this simple example. We can then calculate the DT by dividing 1 (the second) by the fps.
1 / 120 = 0.008333
1 / 60 = 0.016667
We can then use these DT values when updating our movement code.
Using this code the sprite will move at a similar speed at 60 and 120 fps. However it is not often that a game will run at a constant fps and we may want to have a variable frame-rate. Therefore we need some way to calculate the time each frame takes to complete. To implement this SFML has a useful class, the sf::Clock.
Lets create a new sf::Clock and a float to store our deltaTime in the Game class.
We’ll initialise our deltaTime in the constructor.
This restarts the clock, which returns the total time running since the last restart (or object creation) as seconds. This is only called here to provide a baseline for the next call at the end of the frame.
To calculate the delta time, we will create a new method in our Game class.
This needs to be called at the end of our main game loop, so we need to update our Main class.
Now the previous frame time will be stored in the variable deltaTime in the game class. We will use this calculated value throughout our project, including in our previously written movement code.
1. pixelsToMovePerSec is how many pixels we want our sprite to move in one second.
2. frameMovement multiplies our expected movement with the deltaTime to produce a pixel movement value for this frame.
Run this and you will once again see your character moves across the window! It may look similar to what you had before, but it is a whole lot more robust.
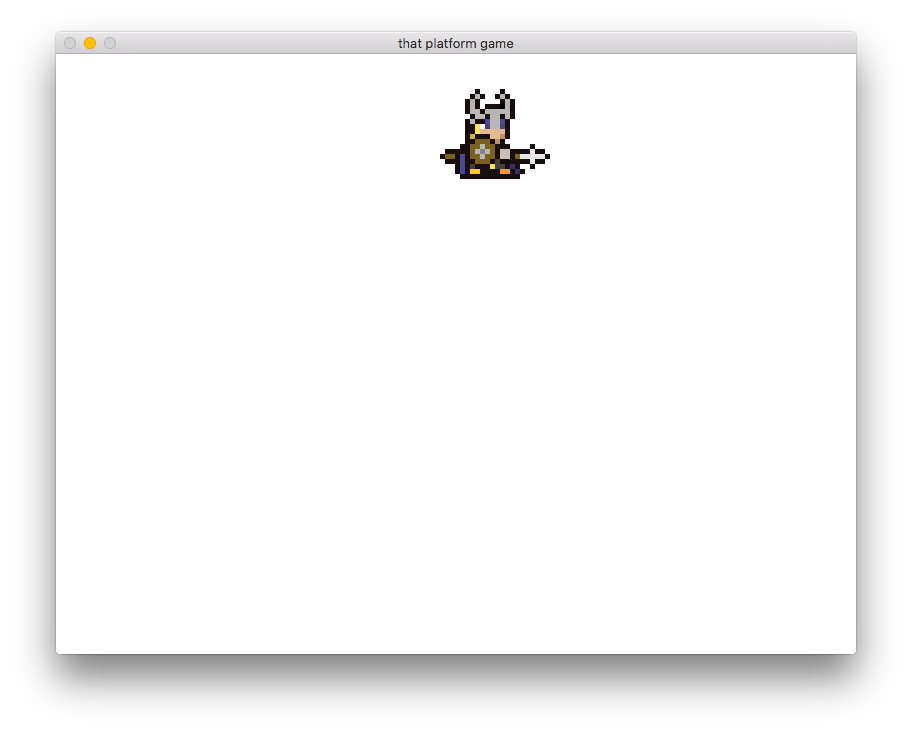
This may look the same as the screenshot from the last tutorial but this time the Viking is moving, and whats more, it will move at the same speed on my computer and yours.
As a final note: delta time, calculated this way, is used in many game development projects; but that does not mean it is perfect. There are a few things that could go wrong with this approach, for example; if one frame takes especially long, our Viking will jump across the screen. A number of changes can be made to fix the problems associated with this method; however for this tutorial, I wanted to start simple and provide something that works most of the time and build on in future.
In the next tutorial we will look at user input (turn out its quite important in video games).
As always, thank you for reading 🙂